As a Microsoft ISV partner providing a Power Automate connector, we work with customers worldwide to help deliver Power Platform solutions and provide general product support.
If you ever contact our support team (support@encodian.com), one of the first few questions you are likely to be asked… “Please provide the ‘Input’ value to the Encodian action”.
Now, our team spends all day every day submersed in the Power Platform and accessing this information is second nature. However, it is a commonplace that our customers require guidance in understanding the ‘Input’ value and how to obtain it. Therefore, this article focuses on exploring Power Automate run history and explaining ‘Input’ and ‘Output’ values.
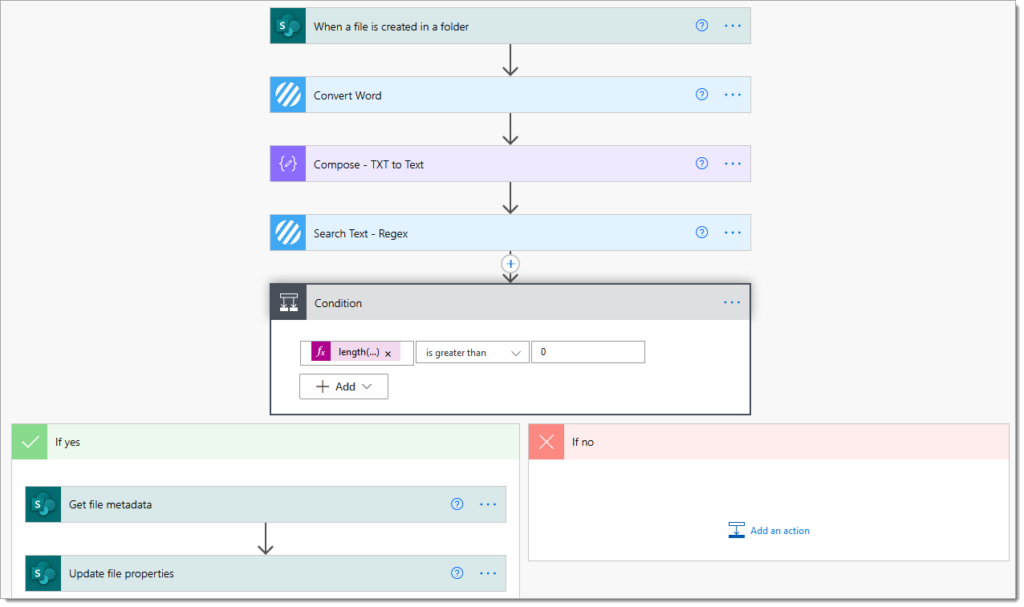
Consider the following example flow which has been configured to search the contents of a Microsoft Word Document to find specific data, which is then added to the same document metadata.
Further details on this example flow are located: Search Word Documents with Microsoft Power Automate.
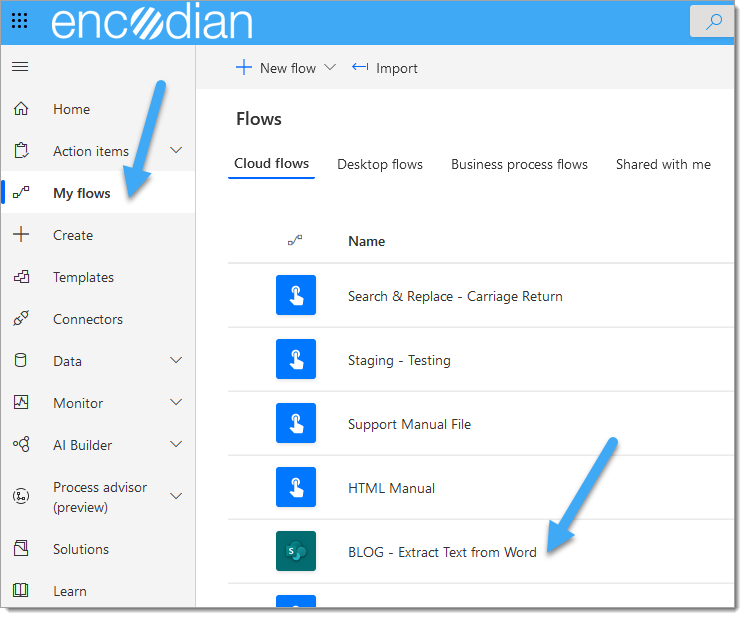
1. Navigate to ‘My Flows‘ within Power Automate, and click the Flow whose run history you would like to review:
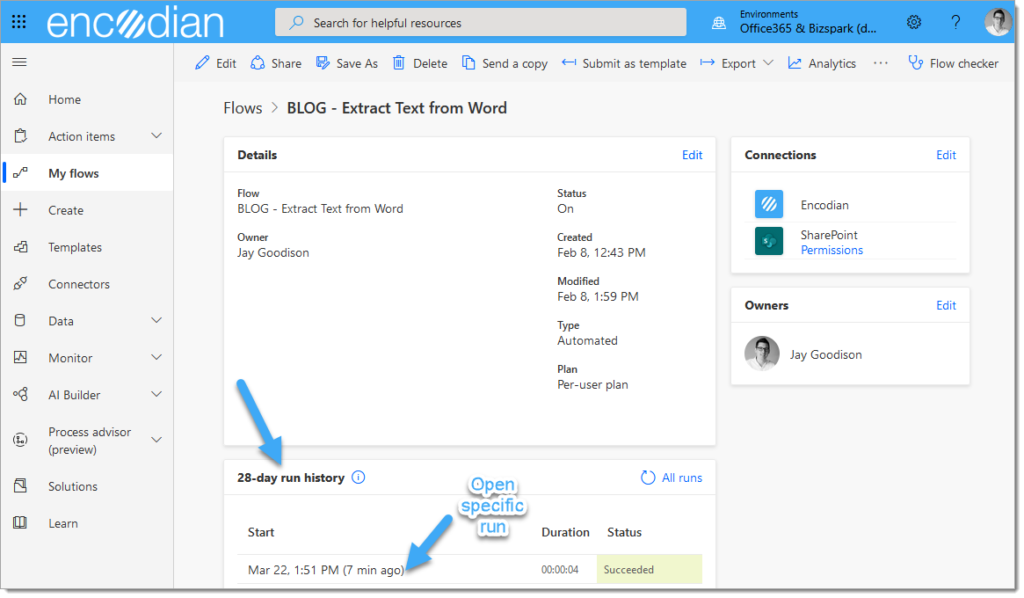
2. The ‘28-day run history‘ shows the latest runs for the flow. You can open a specific run instance by simply clicking on the item.
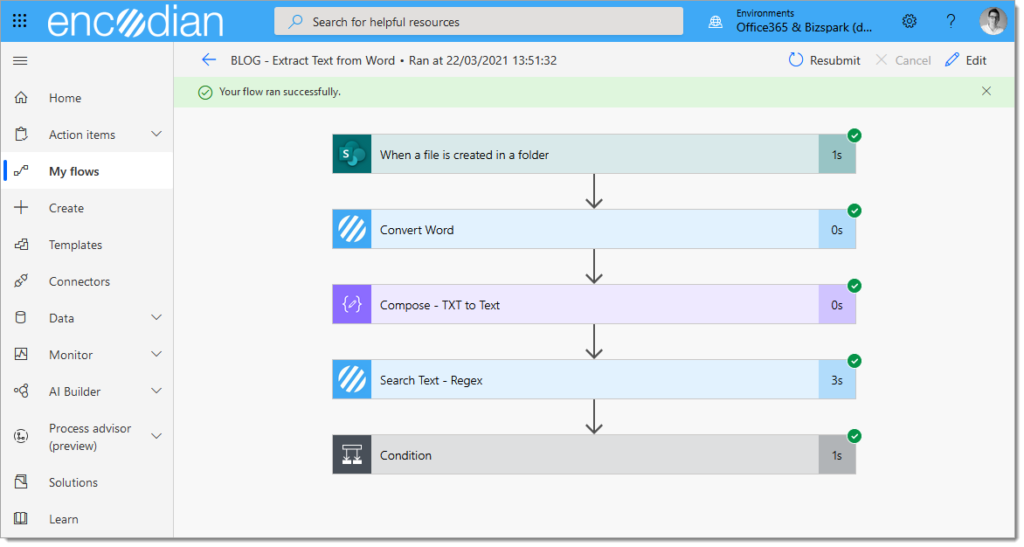
3. Upon opening a specific run, you can review how the run was executed, covering data sent/received and timings for all contained actions. If you need to troubleshoot your flow, this is where to start!
1. To review INPUT and OUTPUT data, you need to click on the selected action within the item’s run history:
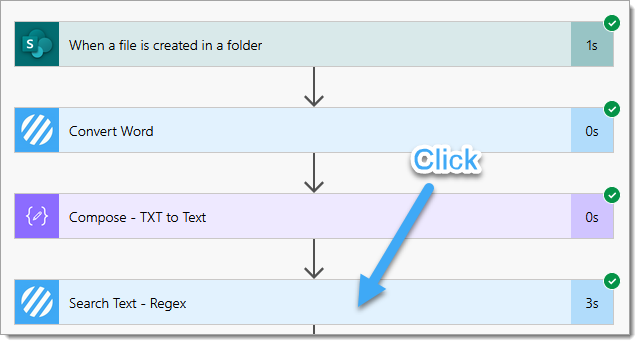
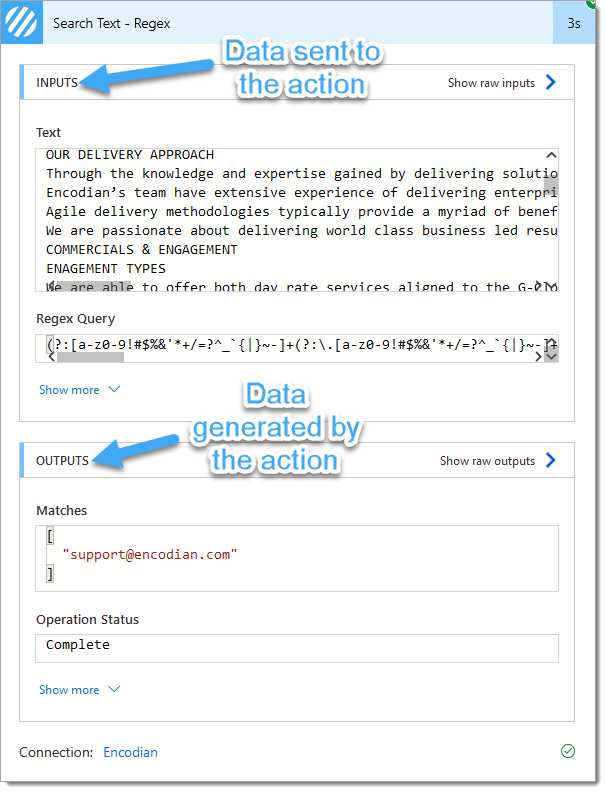
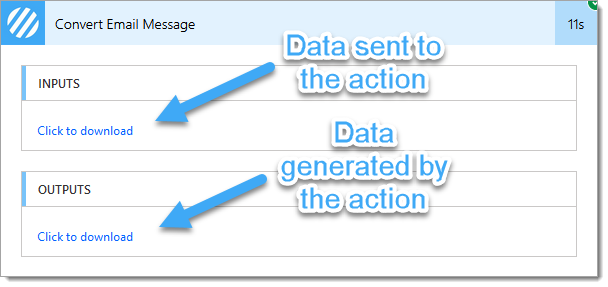
2. The interface you are presented with upon opening can differ depending on the size of the data contained within the ‘INPUT’ and ‘OUTPUT’ sections.
2.a. An action handling smaller data sets will open as follows:
2.b. An action handling larger data sets will open as follows:
3. To access the explicit data set sent to (INPUTS) and generated by (OUTPUTS) a Power Automate action, click ‘Show raw inputs‘
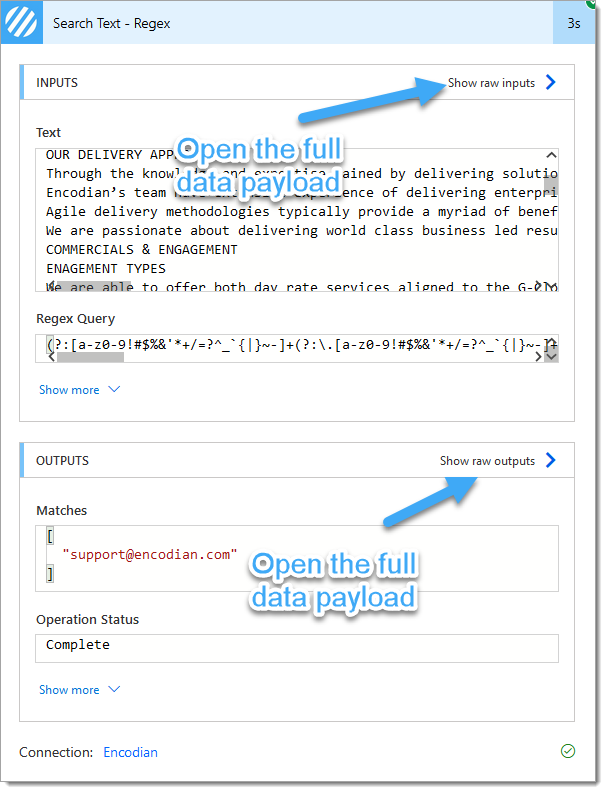
4. You will now see the ‘INPUT’ data in raw JSON format; this is the actual data sent/received by the action.
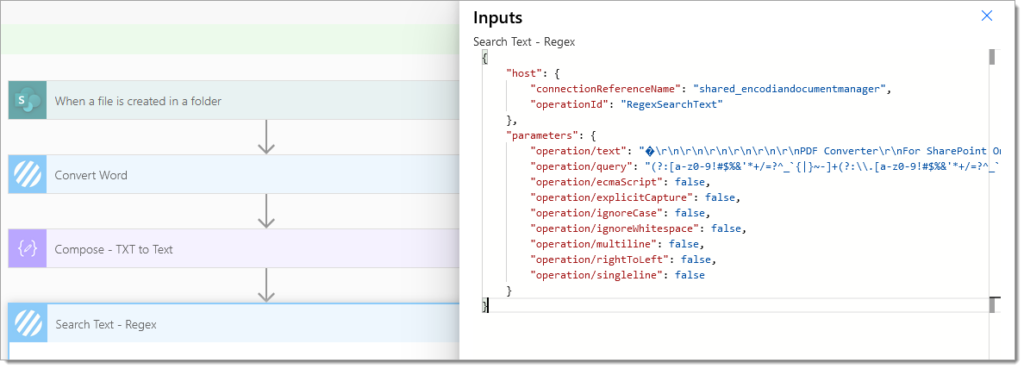
5. Upon the selected action, click ‘Click to download.’

Now, what happens next is dependent on your browser! The link opens the actual JSON payload sent to/from the action, and if your browser does not have a native ability or an add-on to parse a JSON file, the data will be downloaded.
Microsoft Edge displays as follows:

Now, this is somewhat difficult to interpret! To aid reviewing, we recommend:
Post installing the JSON Formatter for Edge. The JSON data is parsed and formatted:
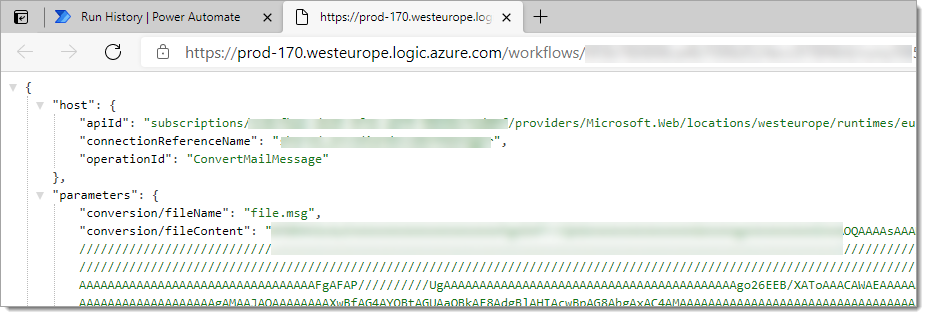
6. If you want to share this data with another person or party (like Encodian support), you can either copy and paste the contents into a TXT file or send the URL, noting the URL is not permanently accessible.

Anybody with the URLs can access the URLs. They are not secured by authentication.
We hope you have found this guide useful, and as ever, please share any feedback or comments – all are welcome!
Managing Director