Watermarking documents is an easy win when you know how to do it right.
A common requirement we see from our customers is wanting to indicate that a document is uncontrolled. This could be because they want to print it for distribution or send it externally to their organisation. In both cases, it’s essential to indicate to any potential reader that the document is no longer under organisational information management policies.
This article will show you how to attach a Flow to a SharePoint document library that will convert a native file format to PDF and stamp it with a watermark indicating that the document is uncontrolled. The document will then be saved to a document library from which it can be distributed or printed.
Our starting point for this demonstration is a SharePoint site that contains two document libraries; Encodian Documents and Encodian Published Documents.

In the Encodian Documents library, we have a Microsoft Word document that we want to publish as a PDF to the Encodian Published Documents library with a watermark that reads “Uncontrolled Copy.”

1 . Starting in the “Encodian Documents” document library, select “Flow” from the menu bar, then select “Create a Flow” this will launch the Create a Flow template selector on the right-hand side of the screen.

2. From the template selector, locate and select “Complete a custom action for the selected file“.

3. Flow will be launched in a new browser tab, click “Continue“, and the Flow design surface will be opened pre-populated with two actions; “For a selected File” and “Get File Properties“. Before the next step, it is wise to give the Flow a meaningful name so it can be easily located again. Change the name and click “Save.”
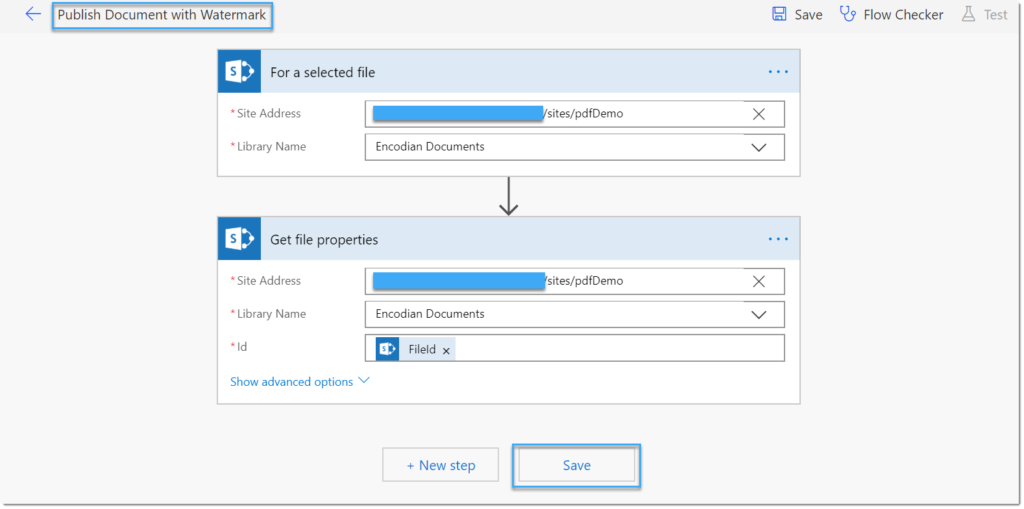
4. Add a new SharePoint action, “Get File Content“. Complete the “Site Address” and “File Identifier“. The “Identifier” property is returned from the previous “Get file properties” action. Click “Save”

5. Add an Encodian “Convert to PDF” action and configure the settings with the following output from the previous “Get file content” action:
5a. Filename – {File name with extension}
5b. File Content – {File Content}
5c. PDF Filename – {Name}.pdf
5d. Final Operation – No

6. Add an Encodian “Add Text Watermark” action and configure the settings with the following output from the previous “Convert to PDF” action:
6a. Filename – {Filename}
6b. Text – “Uncontrolled Copy”
6c. Operation ID – {Operation ID}
6d. Orientation – Diagonal

7. The final step is to save the new file to the “Encodian Published Documents” library. Add a SharePoint “Create file” action and configure the settings with the following output from the previous “Add Text Watermark” action:
7a. Site Address – Target site URL
7b. Folder Path – “/Encodian Published Documents.”
7c. File name – {Filename}
7d. File Content – {File Content}
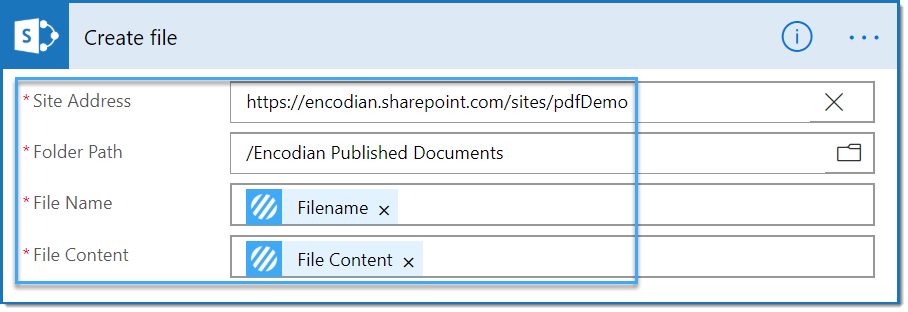
8. The Flow is now complete. Click “Save“. We can now test it from SharePoint!
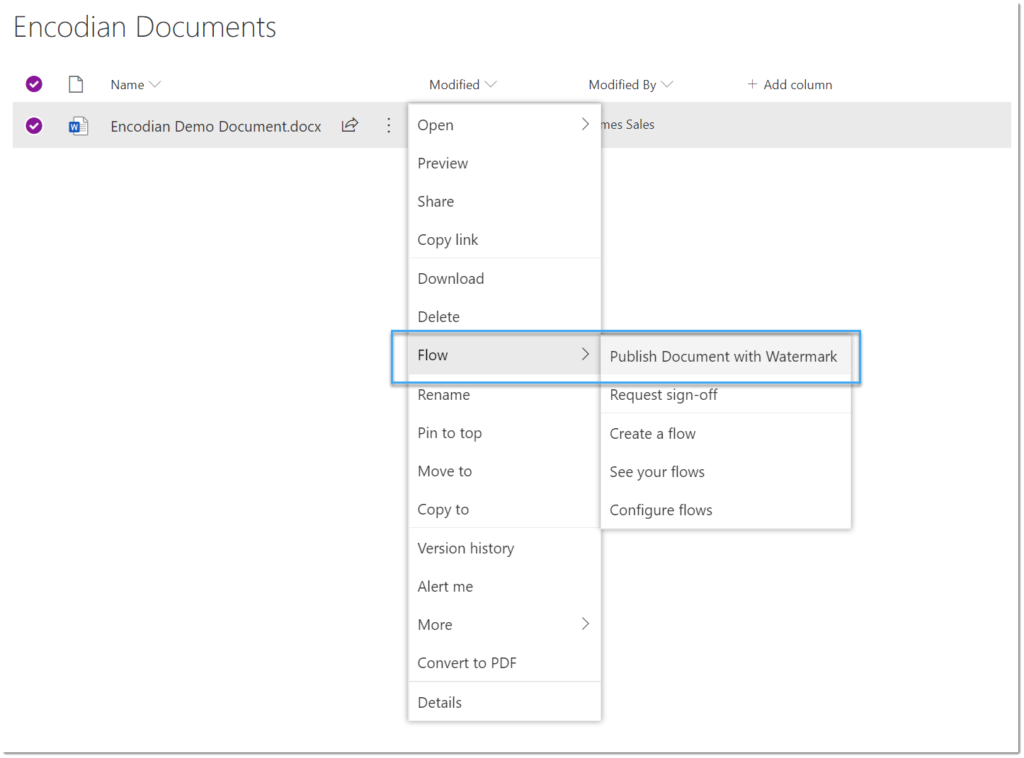
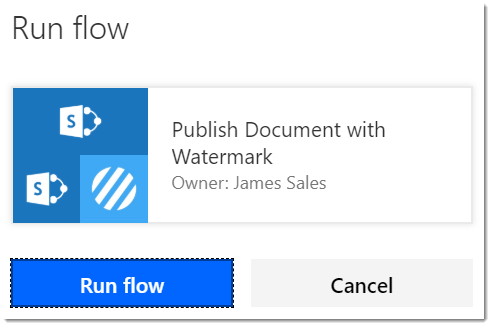
9. Expand the context menu of the test document in the “Encodian Documents” document library, select “Flow“, then select the “Publish Document with Watermark” Flow that we have just created.
Click “Continue” if you are happy with the details or edit them if required.
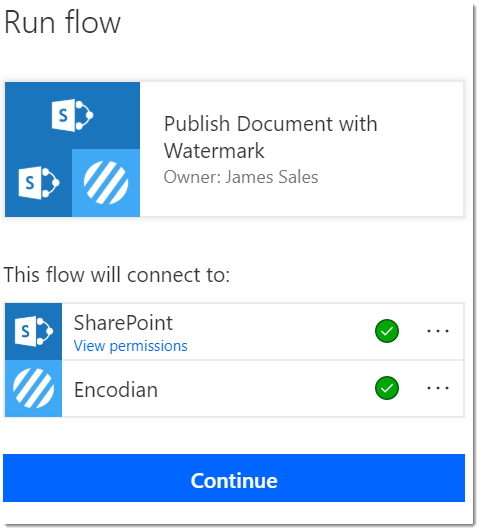
10. Finally, select “Run Flow” to execute the Flow
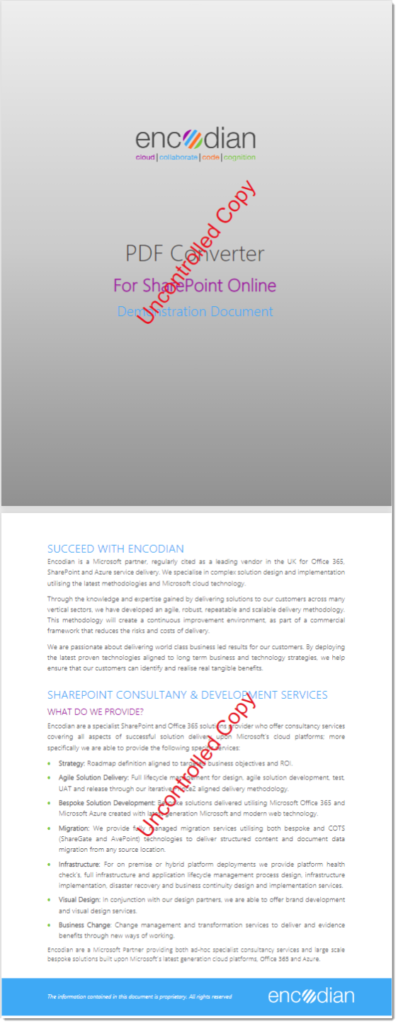
Once the Flow has been executed, navigate to the “Encodian Published Documents” library where (if all has been successful!) we will see the converted document.

We can see that the flow has watermarked with the text “Uncontrolled Copy” on each page.
This example has shown how we can attach a Flow to a document library that can convert a document to PDF, watermark it with the specified text and then save it to another document library ready for distribution.
Managing Director