Want to know how to OCR PDFs as they are added to SharePoint automatically?
The Encodian connector provides an OCR action named PDF – Apply OCR (Standard) (previously OCR a PDF Document) which checks a PDF document for the presence of a text layer and if one isn’t present it will perform OCR and add the text layer to the PDF document before returning the newly OCR’d PDF document.
The PDF – Apply OCR (Standard) (previously OCR a PDF Document) action can also perform a wide array of clean-up operations such as auto-rotate, deskew, despeckle, etc. Please review the documentation for further details.
This article details a simple Flow for automatically performing OCR on PDF documents added to a SharePoint library to ensure the contents of the files can be indexed by SharePoint and can be more easily found by users.
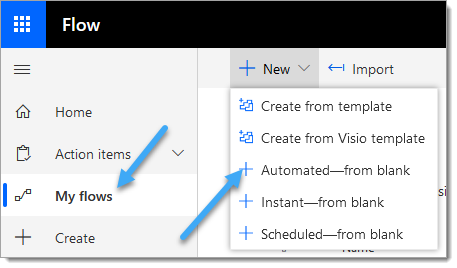
1. Create a new Flow using the ‘Automated — from blank‘ option
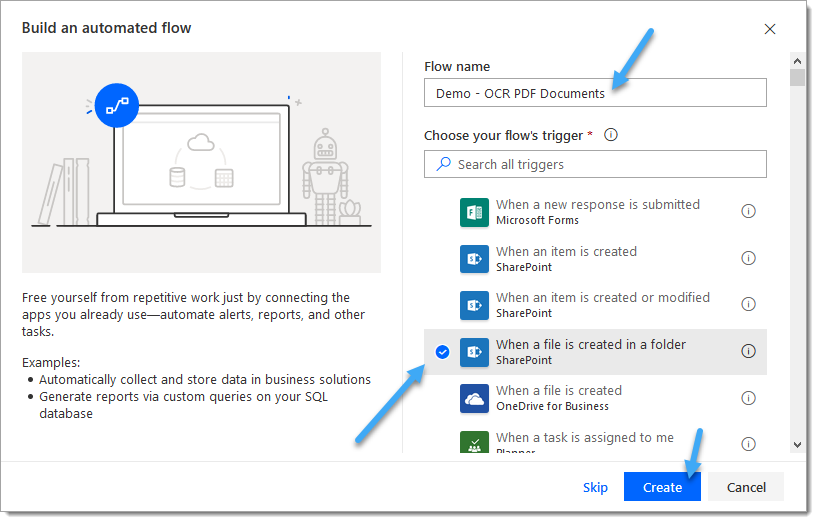
2. Enter a name for the Flow, select the ‘When a file is created in a folder‘ SharePoint trigger action, click ‘Create‘
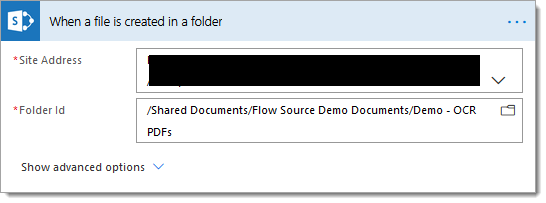
3. Configure the ‘When a file is created in a folder‘ SharePoint trigger action
3.a. Site Address: Enter the location of the SharePoint site where the target library / folder is held
3.b. Folder Id: Select the SharePoint folder which will be monitored for new PDF documents
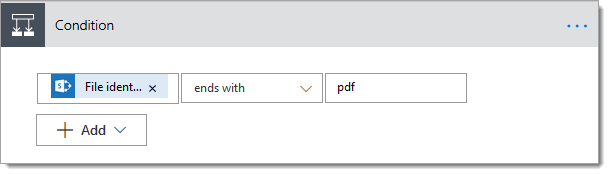
4. Add a ‘Condition‘ action
4.a. Configure the condition action as per the image below, which will ensure that the Flow only attempts to apply the OCR action to PDF documents
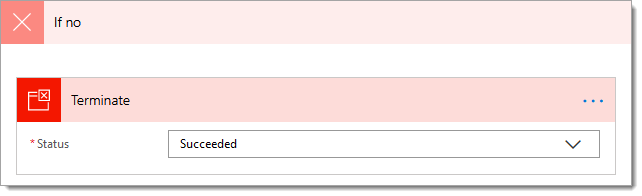
5. Add a ‘Terminate‘ action within the ‘No‘ branch of the condition added in step #4
5.a. Status: Select ‘Succeeded’
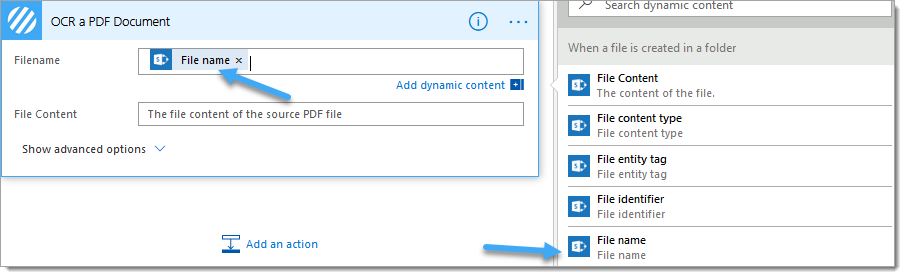
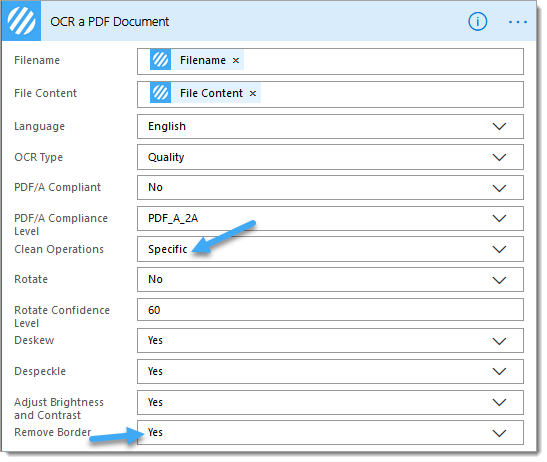
6. Add an PDF – Apply OCR (Standard) (previously OCR a PDF Document) action within the ‘Yes‘ branch of the condition added in step #4
6.a. Filename: Select the ‘Filename‘ property from the ‘ When a file is created in a folder‘ SharePoint trigger action
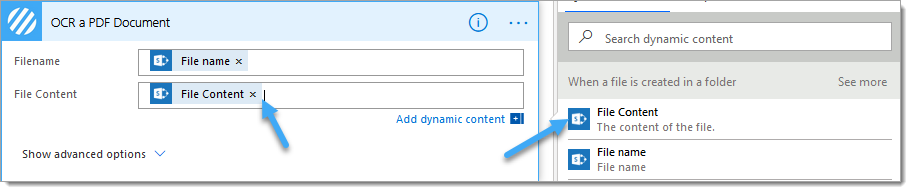
6.b. File Content: Select the ‘File Content‘ property from the ‘ When a file is created in a folder‘ SharePoint trigger action
Please review and change the following advanced options as required:
Language: Select the preferred language, the default is set to ‘English‘
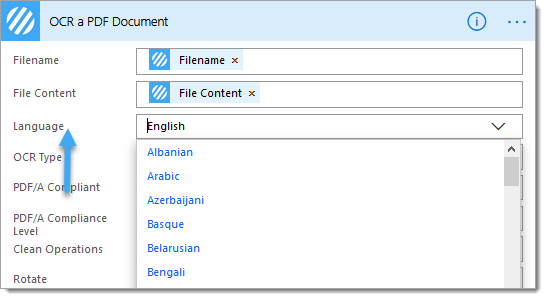
Clean Operations: When setting to ‘Default‘ the OCR action will perform a default collection of clean-up operations including auto-rotate, auto deskew and auto despeckle. To select a specific set of clean-up operations, select ‘Specific‘ and then enable required clean-up operations.
7. Add a SharePoint ‘Create file‘ action
7.a. Site Address: Set to the value of the SharePoint site set in step #3.a
7.b Folder Path: Set to the same value of the ‘Folder Id‘ property set in step #3.b
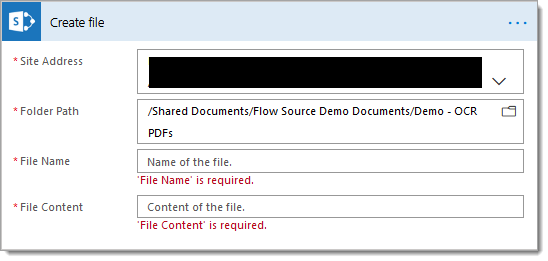
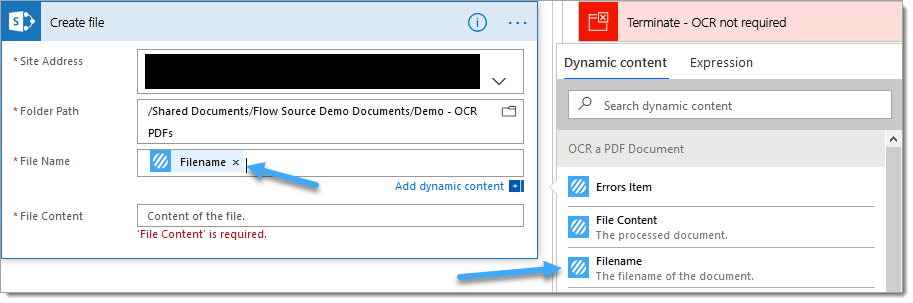
7.c. File Name: Select the ‘Filename‘ property from the PDF – Apply OCR (Standard) (previously OCR a PDF Document) Encodian action
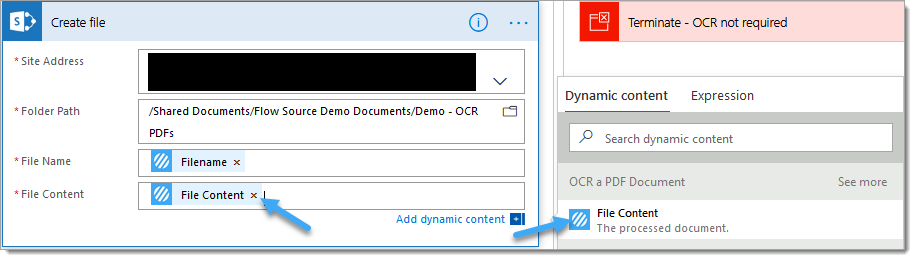
7.d. File Content: Select the ‘File Content‘ property from the PDF – Apply OCR (Standard) (previously OCR a PDF Document) Encodian action
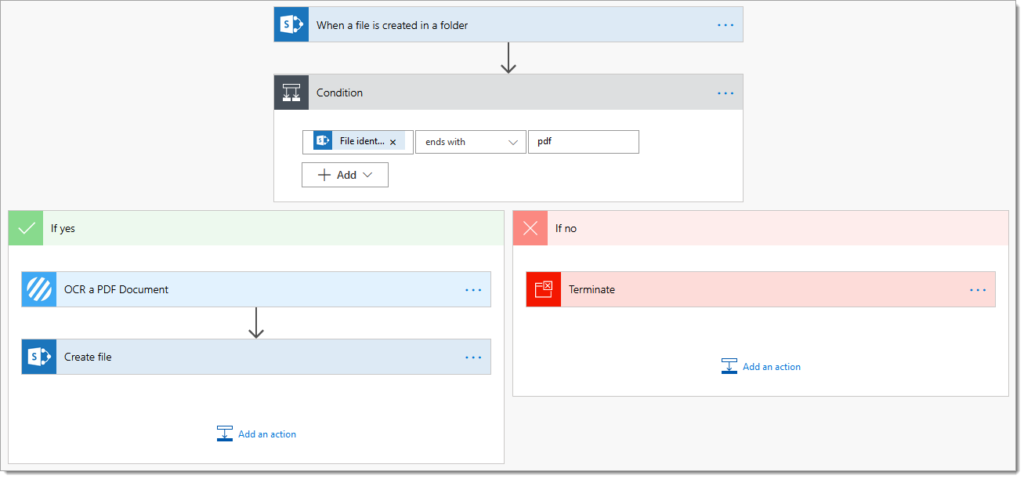
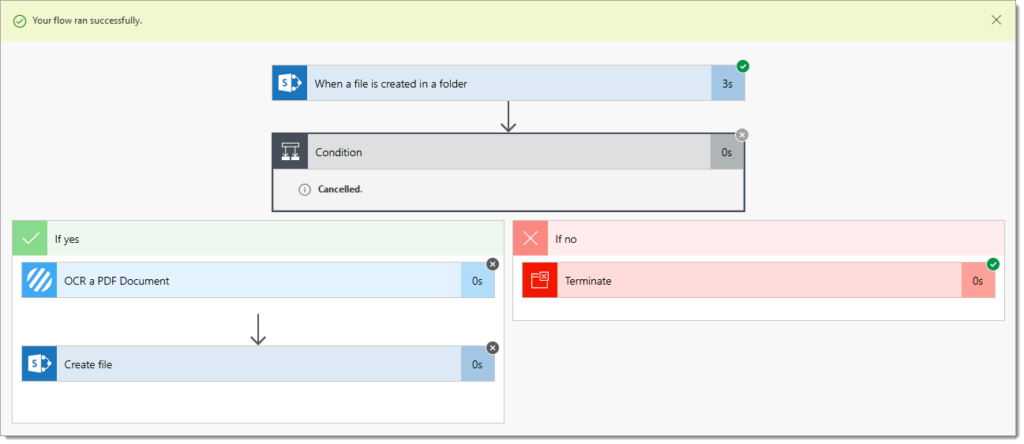
8. The completed flow should follow this construct:
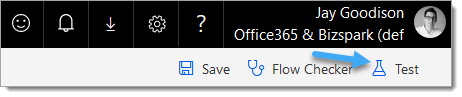
9. Now let’s test the flow!
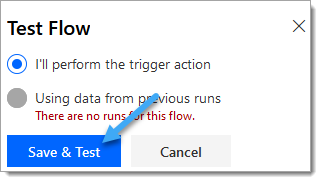
10. Select ‘I’ll perform the trigger action‘ and click ‘Save & Test‘
NOTE: You can ignore the recursive event warning as the Flow is configured to overwrite and existing document which will not re-fire the event. If you rename the file, thus creating a brand new file, the Flow will re-run. To avoid recursive event triggers review our post of the Power Automate Community Blog: SharePoint – Managing Recursive Events in Flow

11. Add a PDF document to the SharePoint folder set in step #3.b
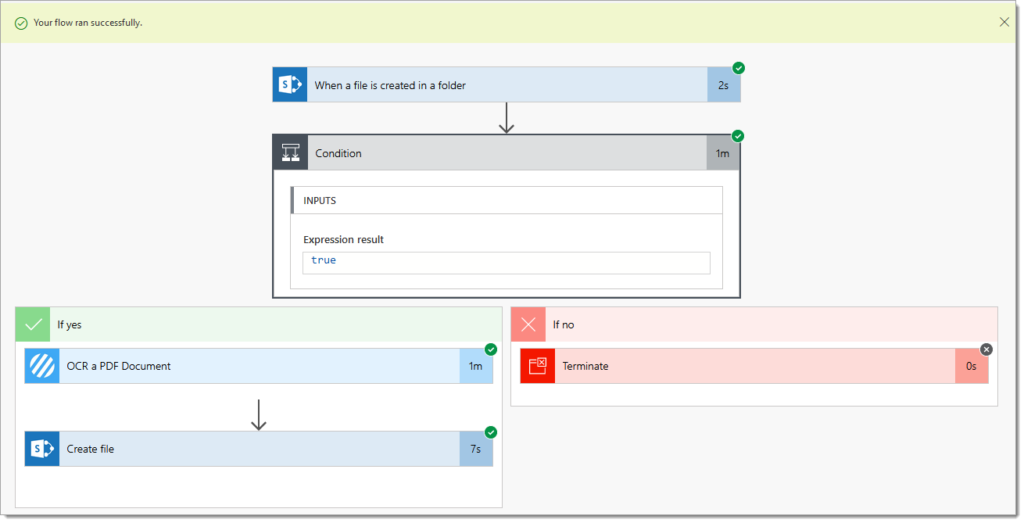
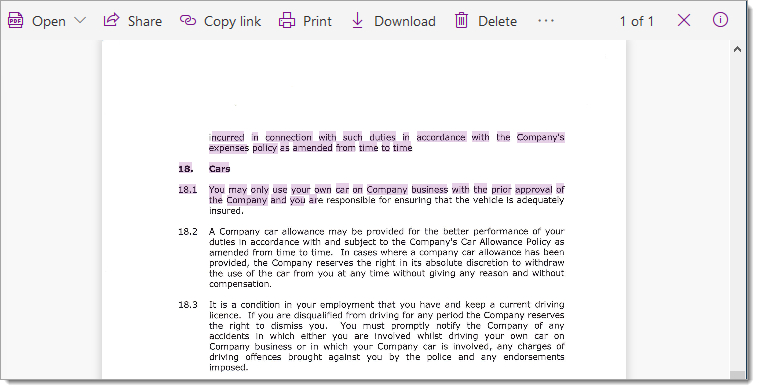
12. Validate a text layer has been added to the PDF document
13. Repeat the test with a non-PDF document
Hopefully, this post provides a good guide for ensuring PDF documents in your SharePoint libraries have been correctly OCR’d.
We hope you’ve found this guide useful, and as ever, please share any feedback or comments – all are welcome!
UPDATE: We’re excited to announce some significant updates to Flowr for Power Automate! As of October 2024, we’ve improved by updating action names and splitting Flowr’s central Power Automate connector into nine specialized connectors. These changes will make your workflow faster, smoother, and more efficient. The new action names are more precise and intuitive, saving you time, while the focused connectors enhance performance and flexibility. This update also helps future-proof the platform for even more powerful features. Check out our updated action names blog.
Managing Director

