A customer recently asked us how to compress, resize and then convert an Image into a DataUri for inclusion in an HTML document for conversion to PDF format… and we thought that is a great use case for a quick blog post!
For this example, we’ll use a manual trigger action before retrieving the source image file from Azure blog storage, noting that this Flow will work with any trigger action and any of the ‘Get File’ actions which return the ‘File Contents’ property.
1. Launch Power Automate
2. Create a new ‘Instant flow.‘
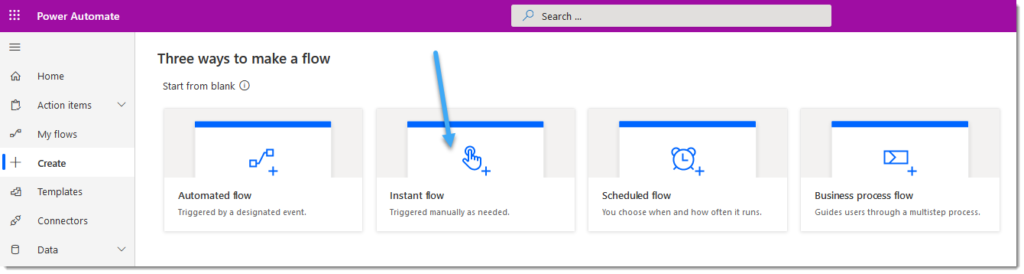
3. Provide the following information:
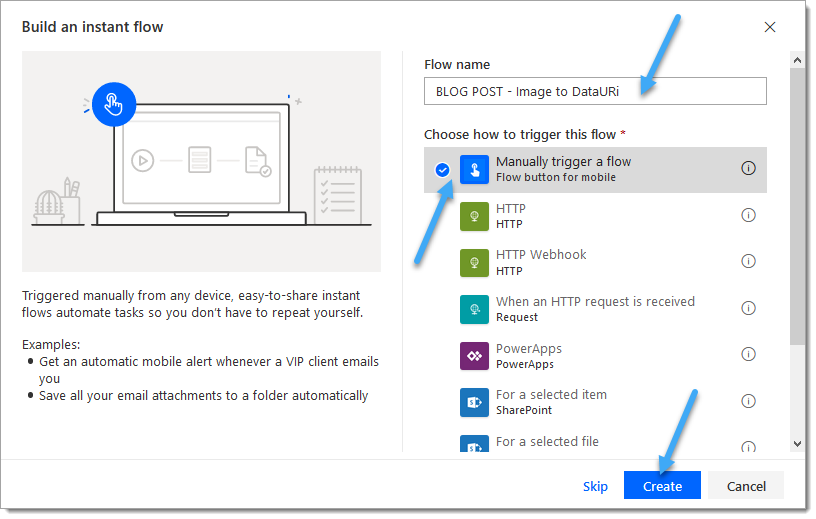
3.a. Flow name: Enter a relevant name/description for the Flow
3.b. Select the SharePoint ‘Manually trigger a flow‘ trigger action
3.c. Click ‘Create.‘
4. Add a ‘Get file content‘ Azure File Storage action
4.b. Select the target source file
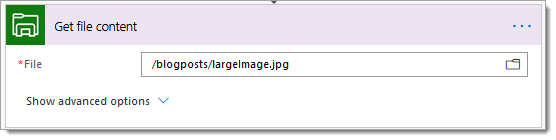
I’ve hardcoded this to pick up a specific file and realised this is unrealistic in a real-world scenario. However, if needed, please configure your Flow to retrieve the source image from the required location using dynamic file selection.
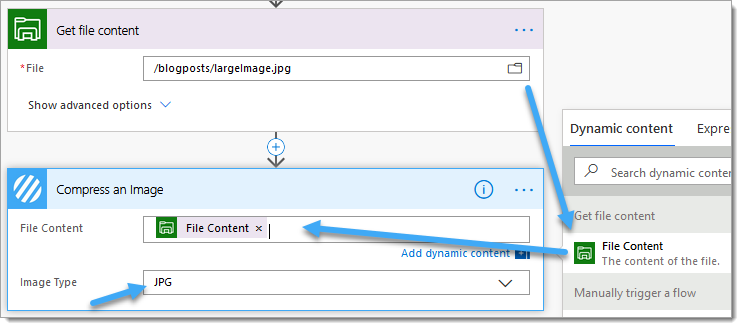
5. Add the Encodian ‘Image – Compress‘ (previously Compress Image) action
5.a. File Content: Select the ‘File Content‘ property provided by the ‘Get file content‘ Azure file storage action
5.b. Image Type: Specify the relevant image type
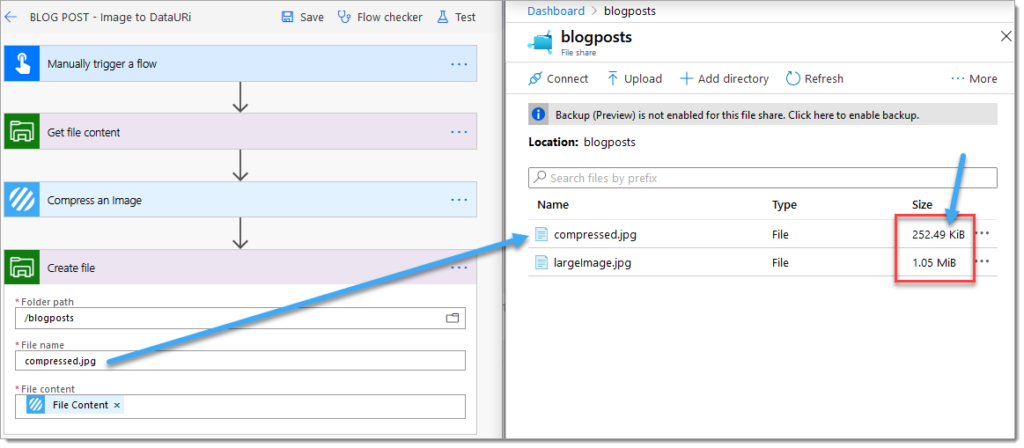
The source image was 1.05MB post-compression. This file was reduced to 252k… to validate this. I added a ‘Create file’ Azure file storage action to add the compressed file to storage. You do not need to perform this step.
6. Add the Encodian ‘Image – Resize‘ (previously Resize an Image) action, and configure as required:
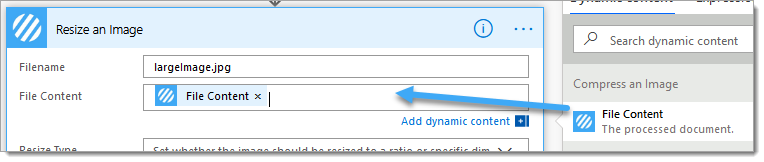
6.a. Filename: Manually enter the filename or use an action to dynamically obtain such as the ‘Get file metadata‘ Azure file storage action.
6.b. File Content: Select the ‘File Content‘ property from the ‘Image – Compress‘ (previously Compress Image) Encodian action
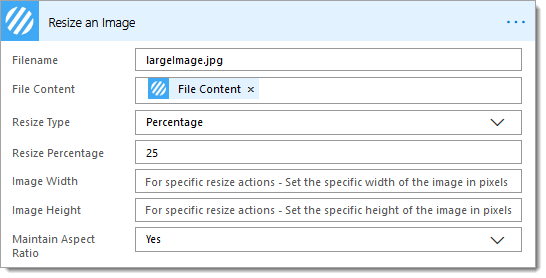
6.c. Resize Type: Select ‘Percentage‘
6.d. Resize Percentage: Enter ‘25‘
This configuration will resize the image’s dimensions to 25% of the original size.
7. Add a ‘Compose‘ action
7.a. Click ‘Inputs‘, Click ‘Expression‘ and then type ‘dataUri(base64ToBinary()) ‘
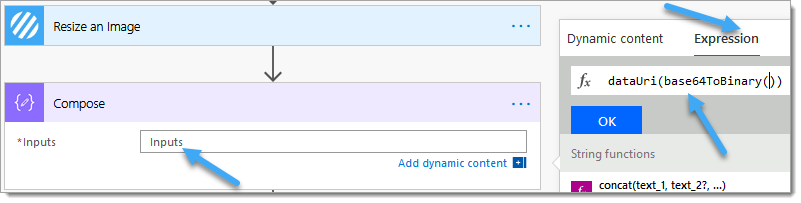
7.b. Click ‘Dynamic content‘, and select the ‘File Content‘ property from the ‘Image – Resize‘ (previously Resize an Image) Encodian action.
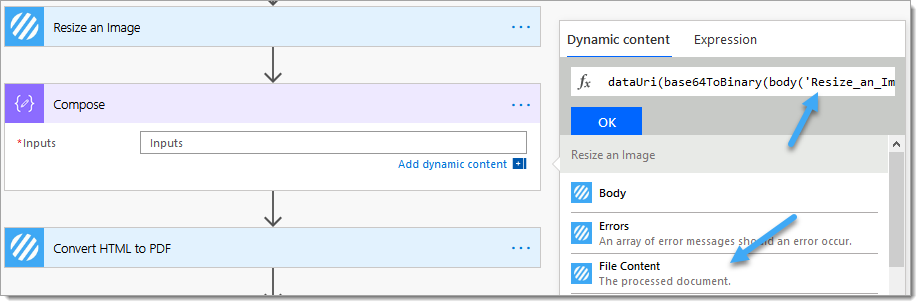
7.c. Click ‘OK.‘

The source image has now been compressed, resized and converted into a DataUri. We’ll now insert this DataUri into a straightforward HTML document before converting it to PDF.
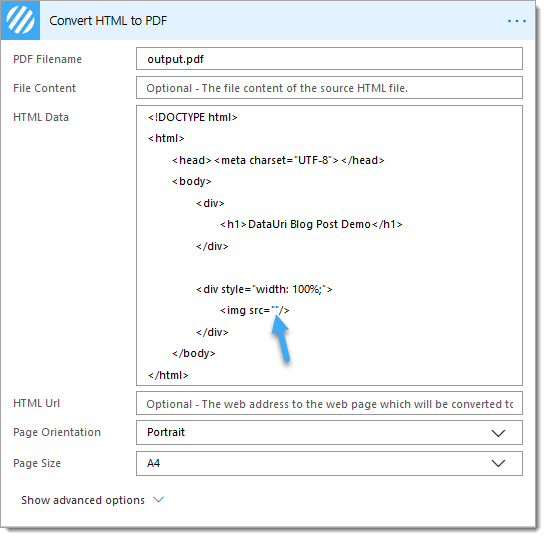
8. Add a ‘Convert – HTML to PDF‘ Encodian action
8.a. PDF Filename: Enter the name for the output PDF document
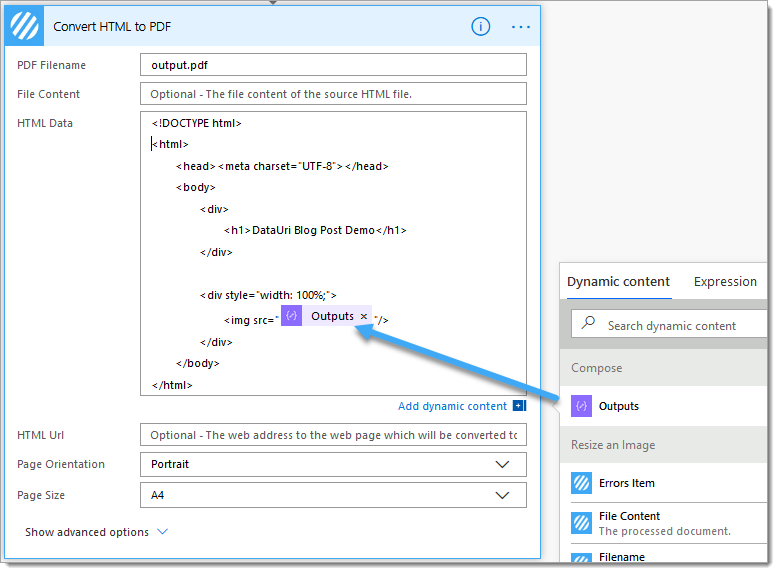
8.b. HTML Data: Copy and paste in your HTML template, and place your cursor where you would like to insert the DataUri
8.c. Select the ‘Outputs‘ property from the ‘Compose‘ action to insert the DataUri into the desired location within the HTML template.
The source image has now been compressed, resized and converted into a DataUri, inserted into an HTML template and converted to PDF… phew! For this demo, I’ll add the converted document back to Azure file storage, but you can do whatever you need to do using Power Automate!
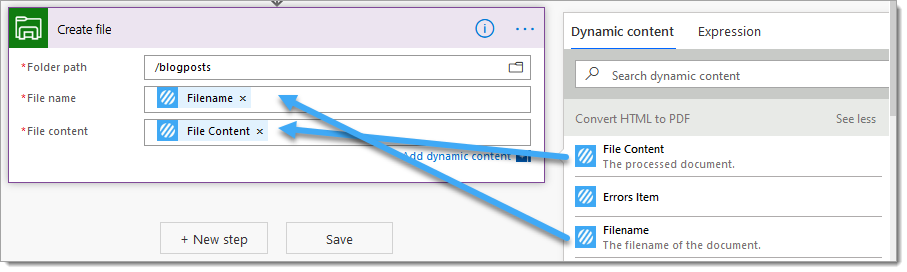
9. Add the ‘Create file‘ Azure file storage action
9.a. Folder path: Select the target folder
9.b. File name: Select the ‘File name‘ property from the ‘Convert – HTML to PDF‘ Encodian action
9.c. File content: Select the ‘File Content‘ property from the ‘Convert – HTML to PDF‘ Encodian action
10. Let’s test the Flow; click ‘Test.‘
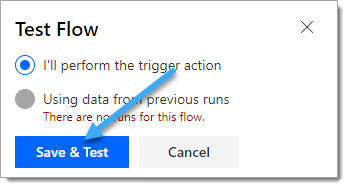
11. Click ‘Save & Test‘
12. Click ‘Run Flow‘ and Click ‘Done.‘
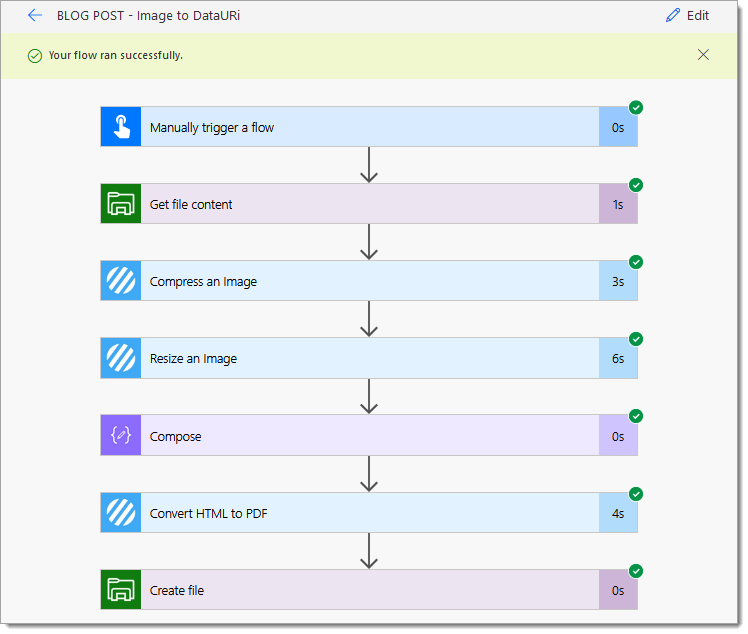
The Flow should have been successfully executed:
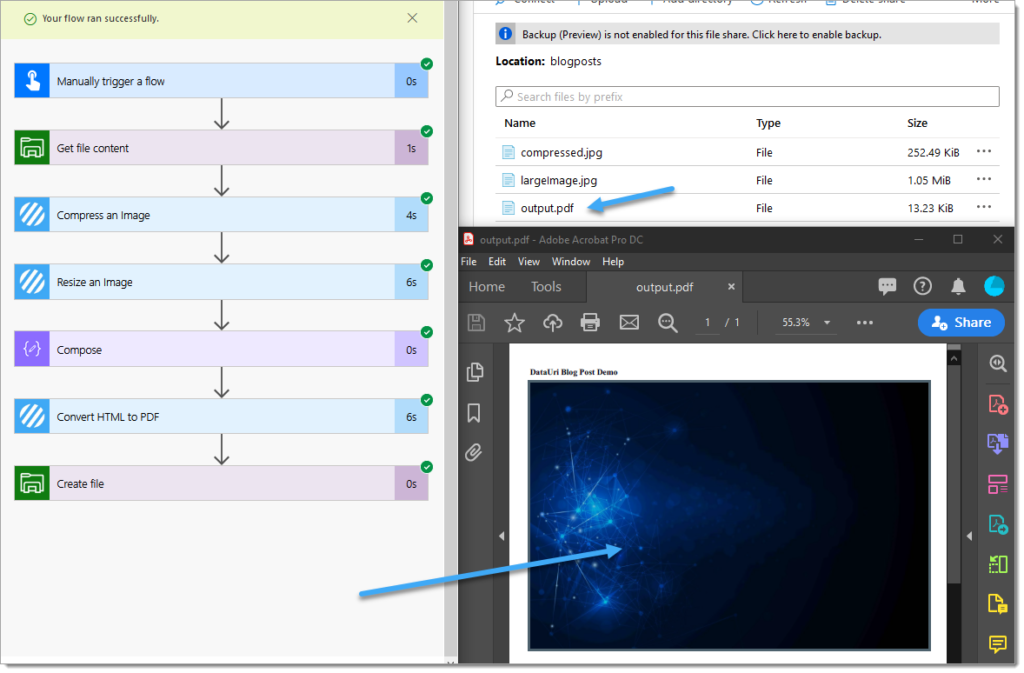
The resulting PDF document should have been created, and the image inserted into the document.
We hope you’ve found this guide useful, and as ever, please share any feedback or comments. All are welcome!
UPDATE: We’re excited to announce some significant updates to Flowr for Power Automate! As of October 2024, we’ve improved by updating action names and splitting Flowr’s central Power Automate connector into nine specialized connectors. These changes will make your workflow faster, smoother, and more efficient. The new action names are more precise and intuitive, saving you time, while the focused connectors enhance performance and flexibility. This update also helps future-proof the platform for even more powerful features. Check out our updated action names blog.
Managing Director

