In this blog, we’ll explore how to automate enabling and disabling tracked changes in Word documents using Power Automate. We will also explore how to automatically add headers and footers to a document, assuring consistent formatting. This is all achievable using the Encodian connectors!
Flowr forms a collection of Power Automate connectors, each providing differing capabilities. For this post, we’ll use the following actions from the ‘Encodian – Word’ connector:
The solution within this post contains two separate Power Automate flows which perform the following high-level steps:
So, let’s cover the scenario;
A team responsible for creating new website blog posts draft content in Word documents that are stored in a SharePoint library, thus allowing all members to collaborate on the posts. The team uses Microsoft Word’s tracked changes to track and review updates to the document, but upon management approval, tracking must be disabled prior to submission.
Contents
Within the SharePoint document library, each client has their own dedicated folder keeping all their documentation separate. I’ve added two custom columns to the library:
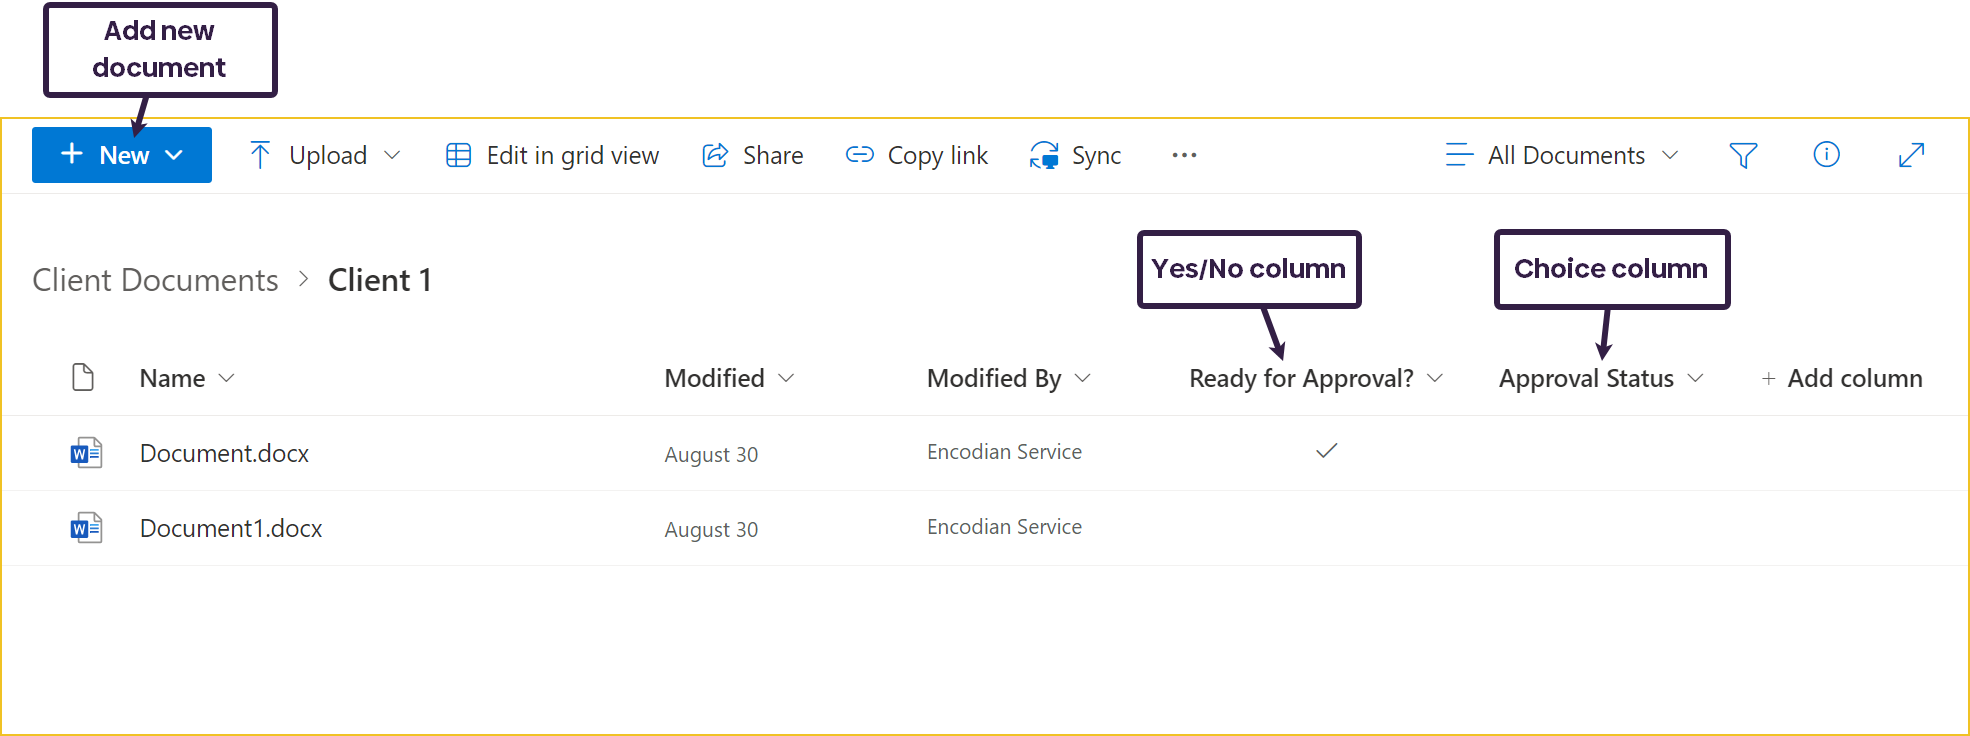
Users create new documents by pressing the ‘New’ button and selecting a Word document.
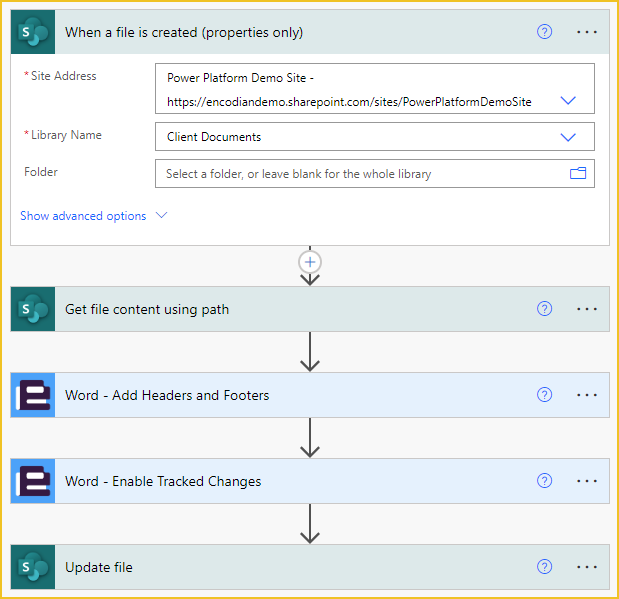
The first Power Automate flow uses the SharePoint trigger action ‘When a file is created (properties only)’.
A trigger condition has been set to make sure the flow only runs when a Word document is created.
@endswith(triggerOutputs()?['body/{FilenameWithExtension}'], '.docx')
Next, we need to get the file content.

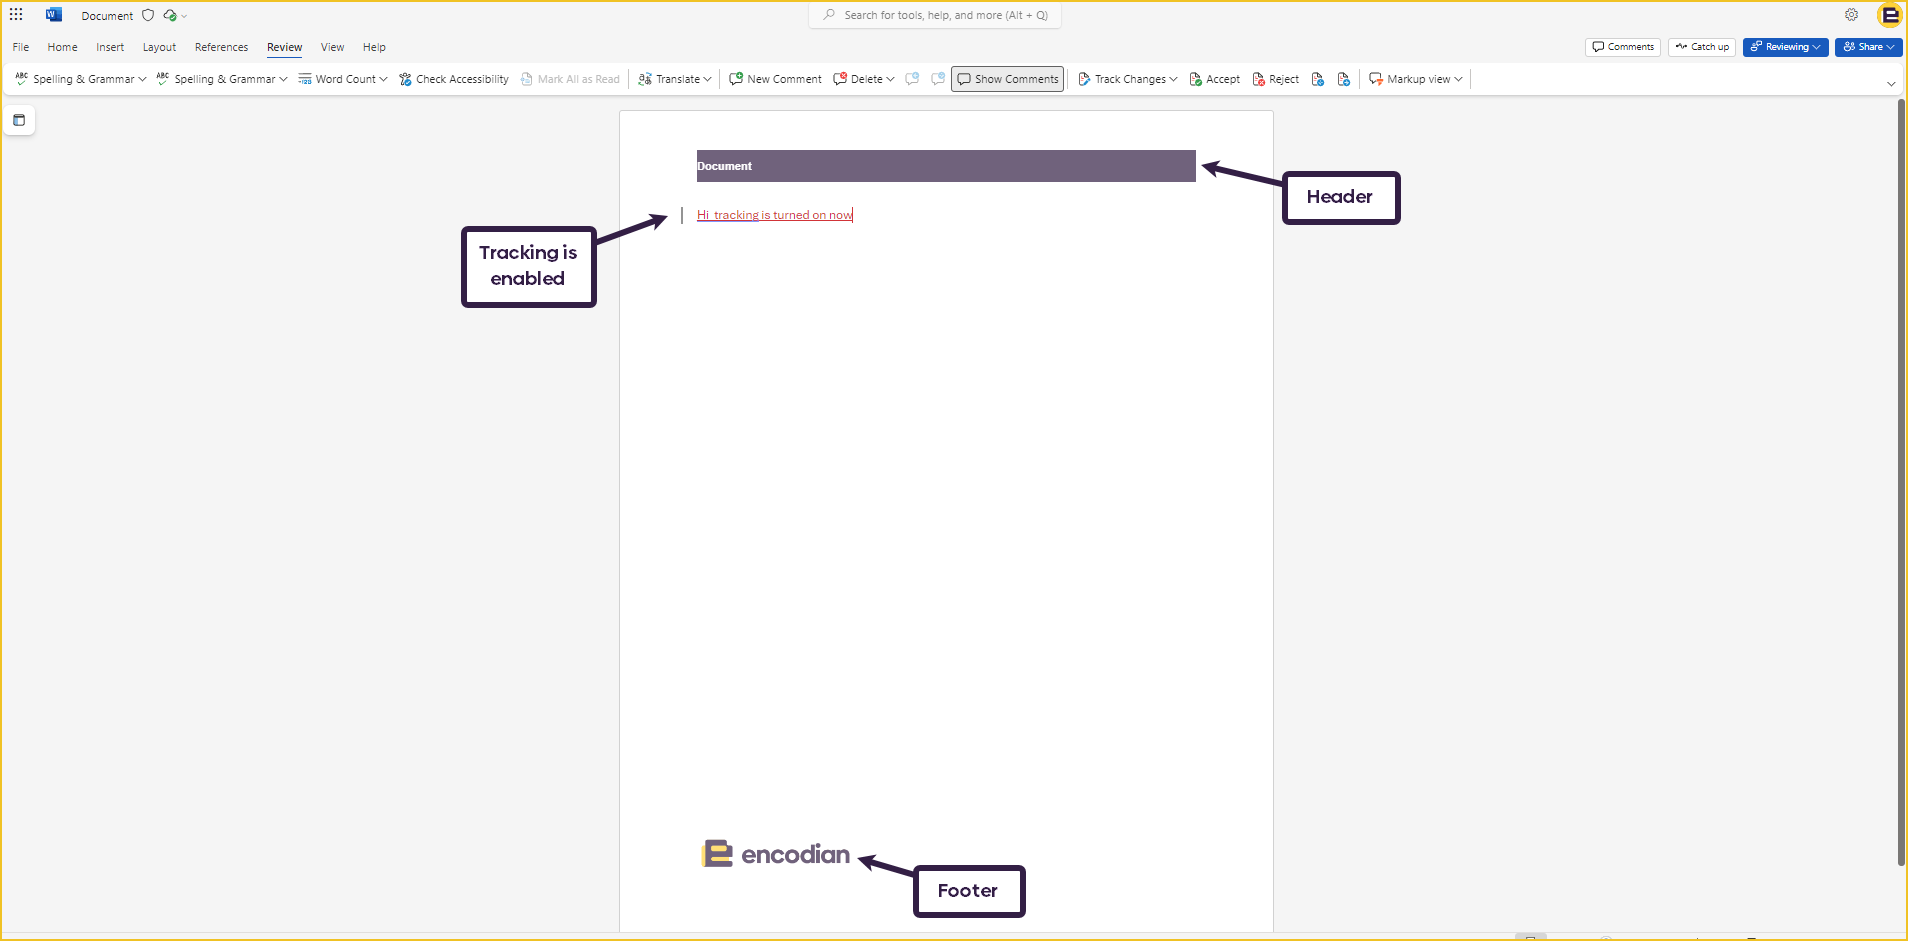
Once we have the file content, we can then add the header and footer to the document using Flowr’s ‘Word – Add Headers and Footers‘ action.
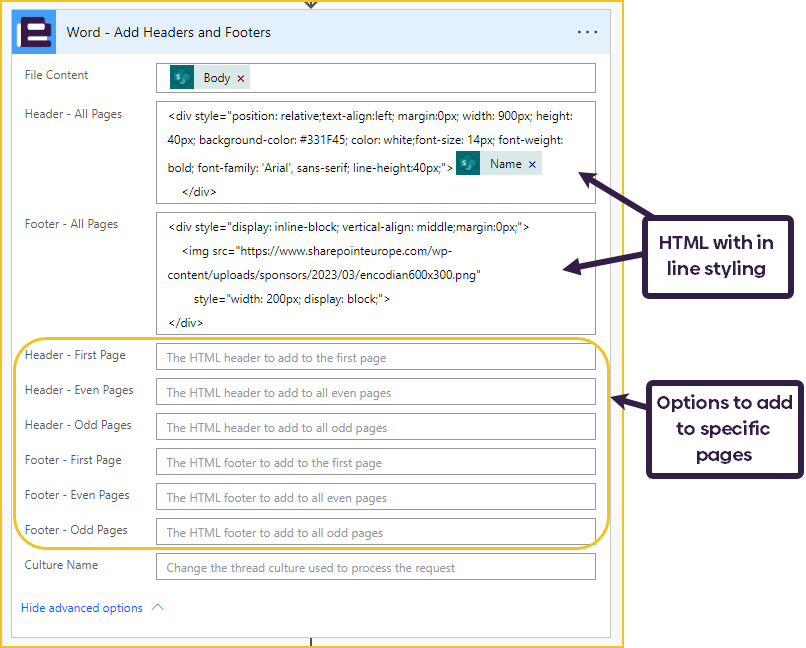
The header and footers are provided in HTML format with inline styling.
Now that the header and footer have been added to the page, tracked changes can be turned on using the ‘Word—Enable Tracked Changes‘ action.

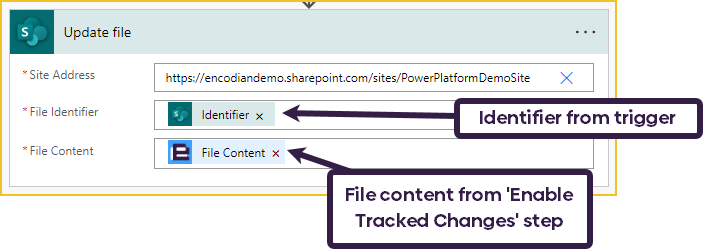
The last step in the flow is to update the source file in SharePoint with all the new changes.
This flow is triggered when a document is marked as ready for approval in the SharePoint site. The trigger action is ‘When an item or file is modified’.
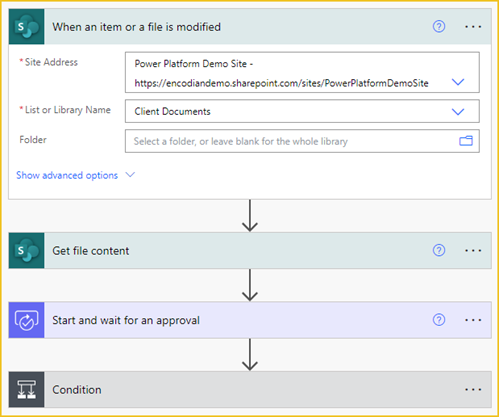
There is a trigger condition being used in the settings of the trigger, so the flow only runs when the ‘Ready for Approval’ field is set to true and when the ‘Approval Status’ field is not equal to Approved:
@and(equals(triggerOutputs()?['body/ReadyforApproval_x003f_'], true), not(equals(triggerOutputs()?['body/ApprovalStatus/Value'], 'Approved')))
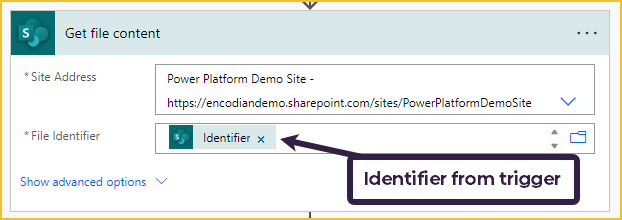
The next step is to get the document’s file content.
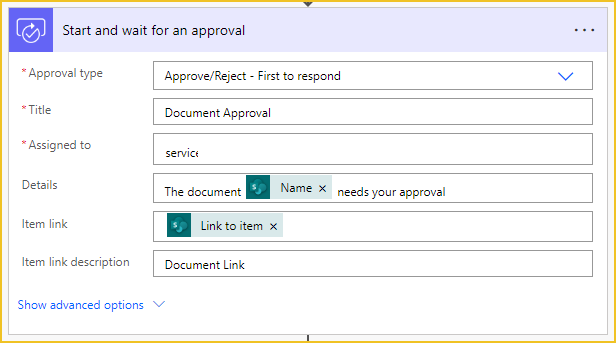
The document then needs to go through approval. I am using the built-in approvals for Power Automate. I am providing a link to the file in the approval rather than adding the file as an attachment within the approval itself.
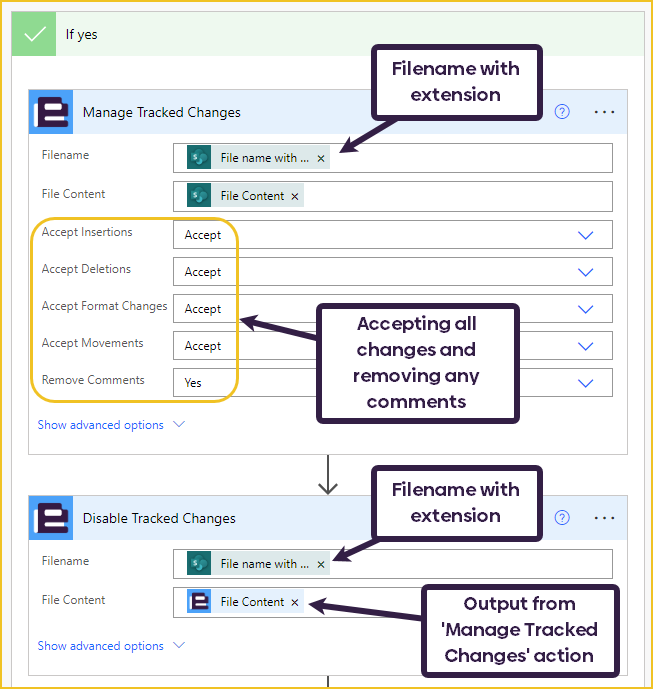
If the document is approved, no more changes need to be made so tracking can be turned off. There are two steps that need to be completed here:
Both actions are found in the ‘Encodian – Word’ connector.
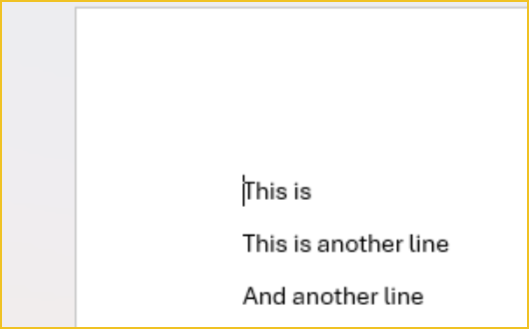
The ‘Manage Tracked Changes’ action allows the changes to be accepted before they are disabled. If this is not done, the document will contain the revisions and look like this:

Rather than this:
With this action, you can either accept, ignore, or reject different types of changes. You can also choose to remove or keep comments. For this demo, I am accepting all changes and removing the comments.
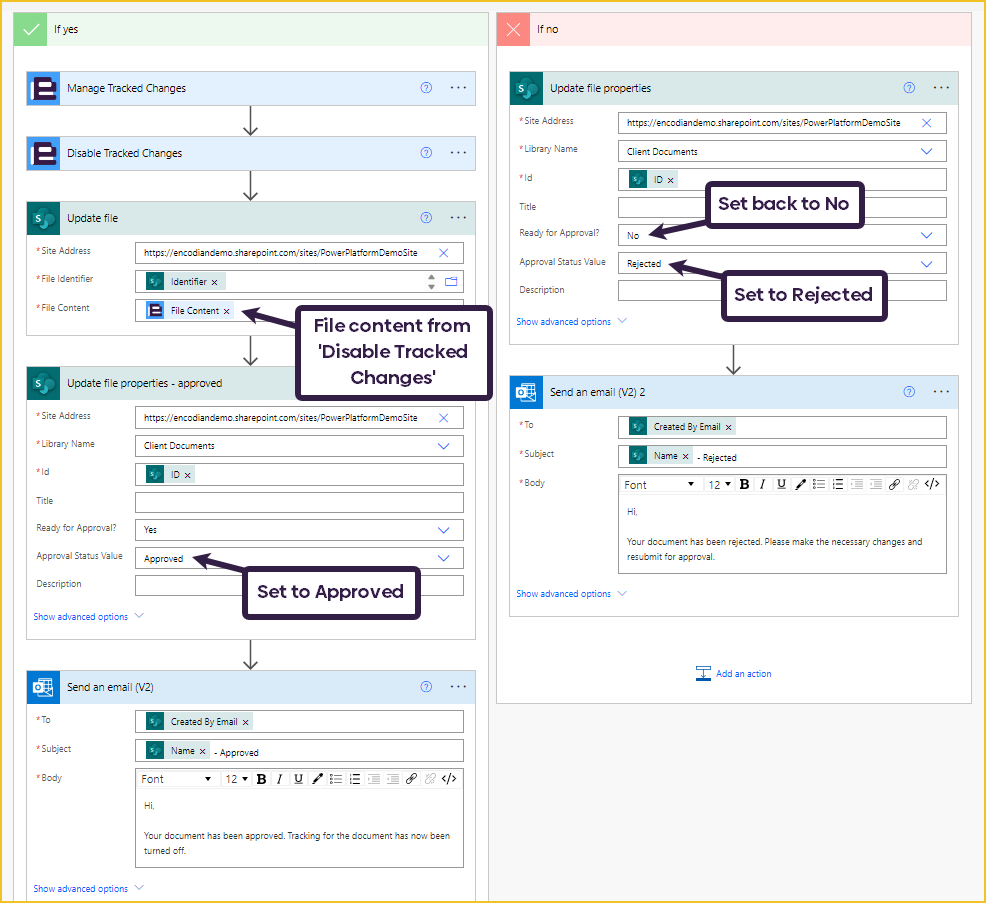
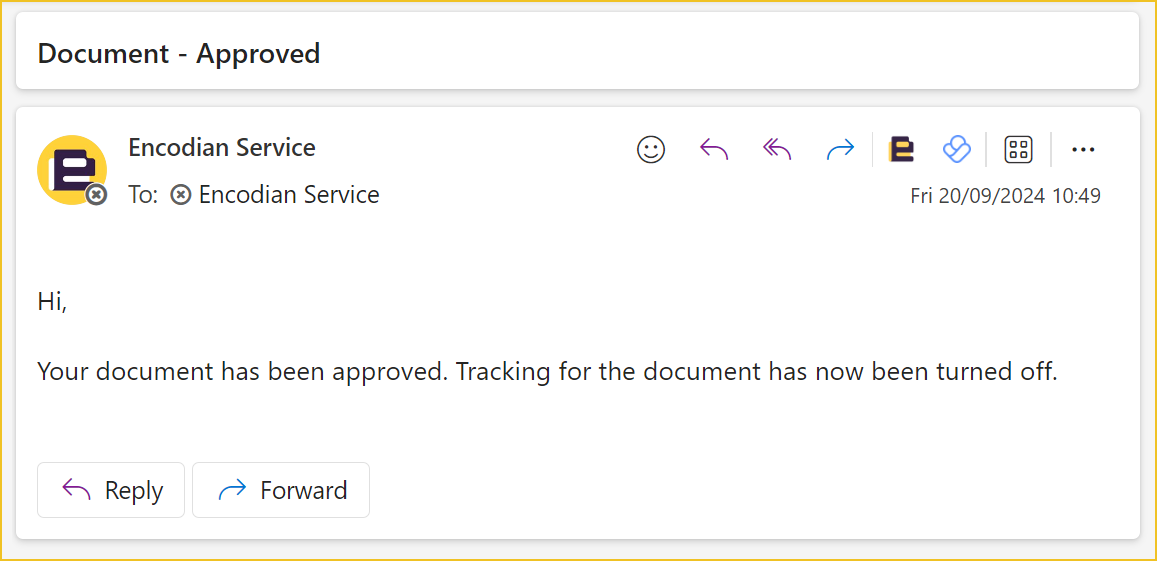
After the tracking is disabled, the SharePoint file should be updated. The file’s properties should also be updated to change the ‘Approval Status’ field to’ Approved’. Lastly, an email alerting the document’s author that the document has been approved should be sent.
It is important that the file is updated before the file properties, as updating the file after can overwrite the properties that would have just been changed, causing the flow to run again in a loop.
If the document is rejected, the file properties need to be updated to change the ‘Ready for Approval?’ field back to ‘false’ and set the ‘Approval Status’ to ‘Rejected’. Tracking needs to remain enabled on the document as further changes are needed. The author will be alerted that their document has been rejected and changes are needed.
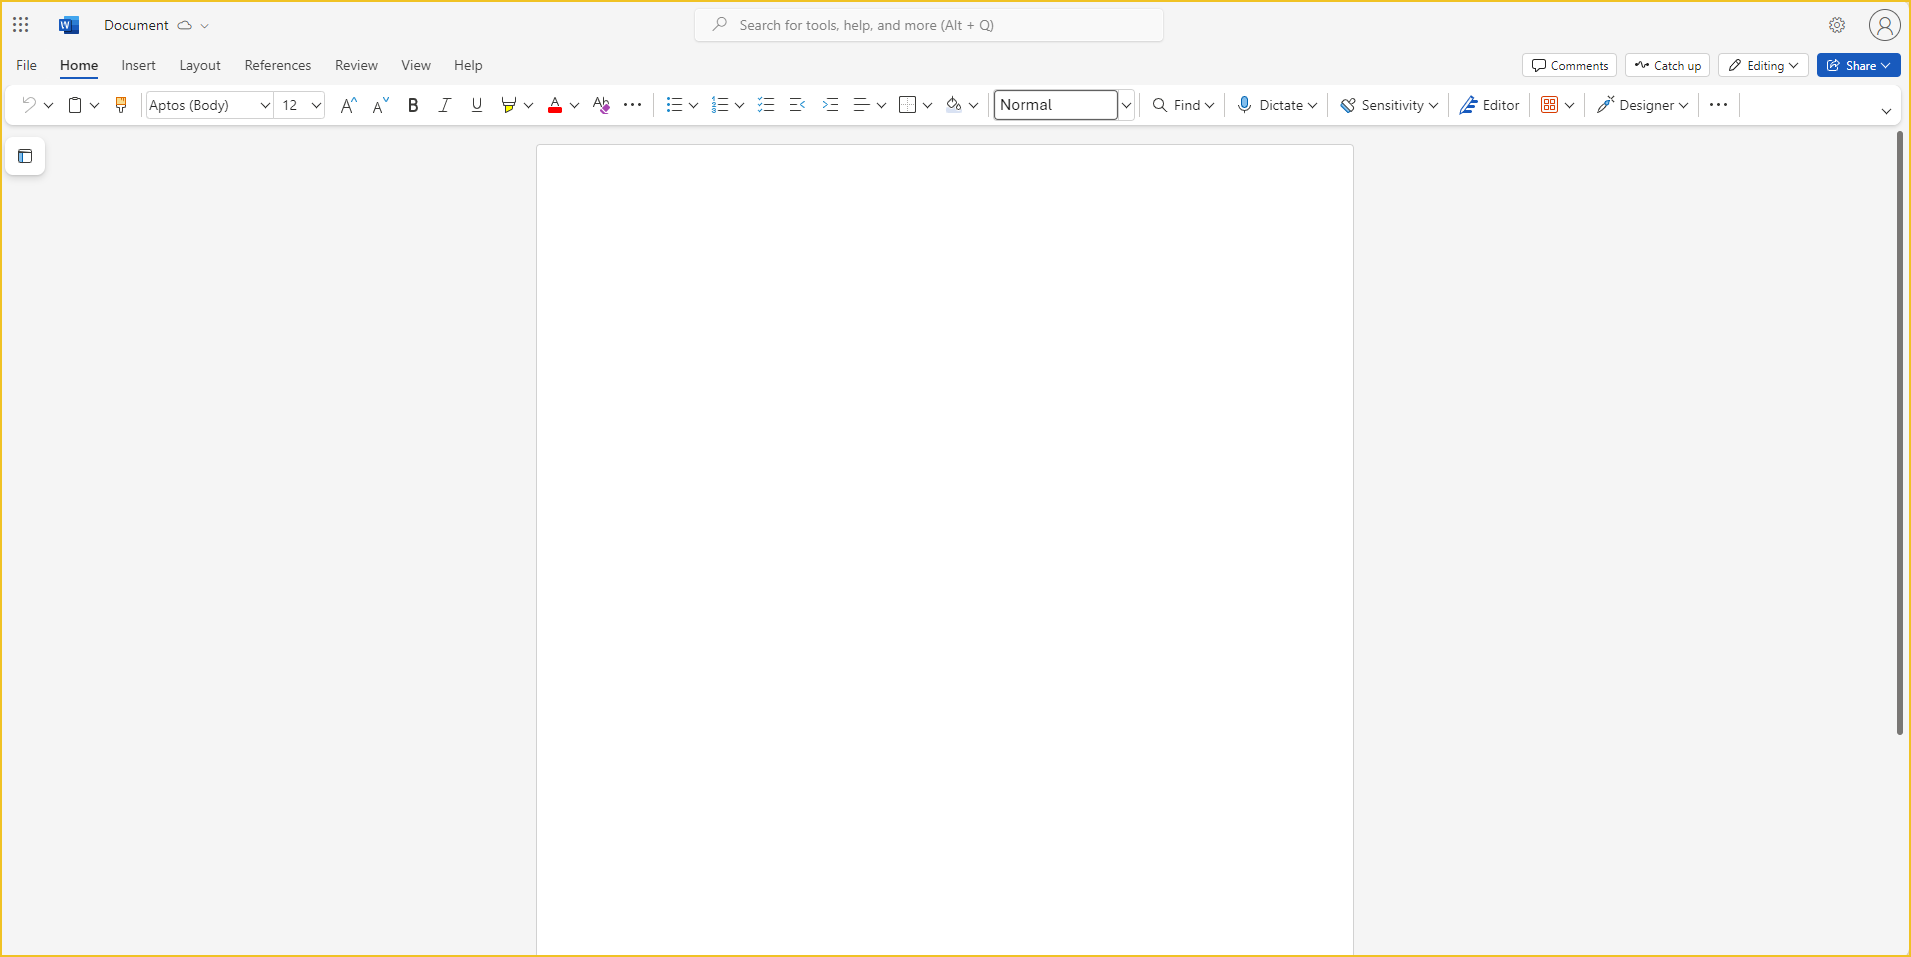
I have created a new Word document from the SharePoint library:
This is the document after the first flow has run (I have added some text to show that tracking is now enabled):

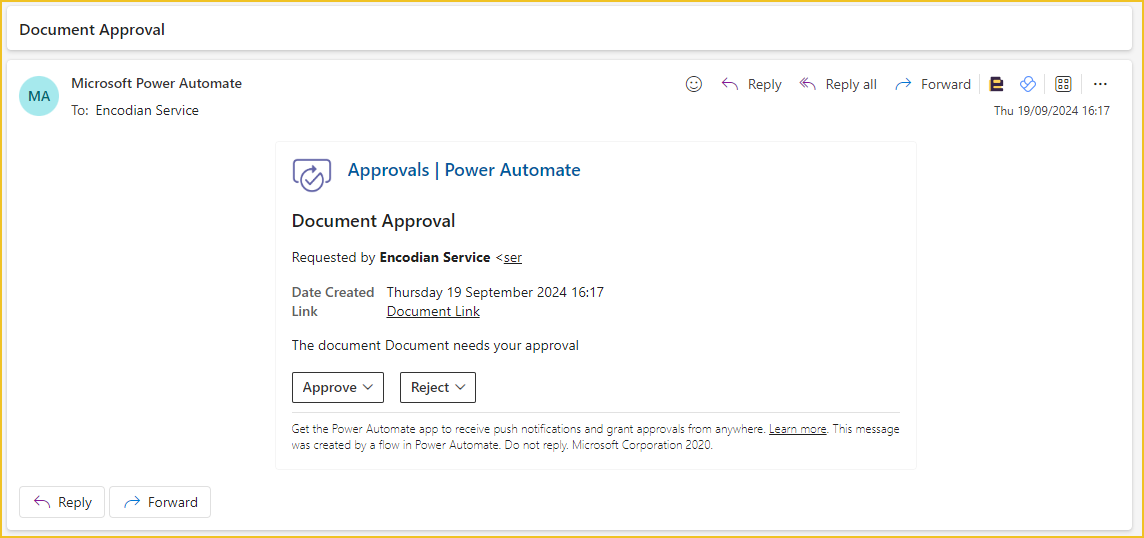
This is how the approval looks in Outlook:
This is the document after it has been approved. We can see that tracking is now turned off.
![]()
Confirmation email:
Check out Sophie’s companion video on YouTube:
Save time with 200+ actions across 9 connectors
Sign up for your free 30-day trial; no cards, catches, or contracts.
Don’t struggle! Try out our Premium Support packages today.
Technical Evangelist